

Dahlias are some of the most spectacular, dramatic flowering plants available to our gardens and are not hard to grow if you attend to their simple needs. I’ve written a lot here, as a detail-oriented person who loves specifics. Hopefully this article will help you in your dahlia growing!
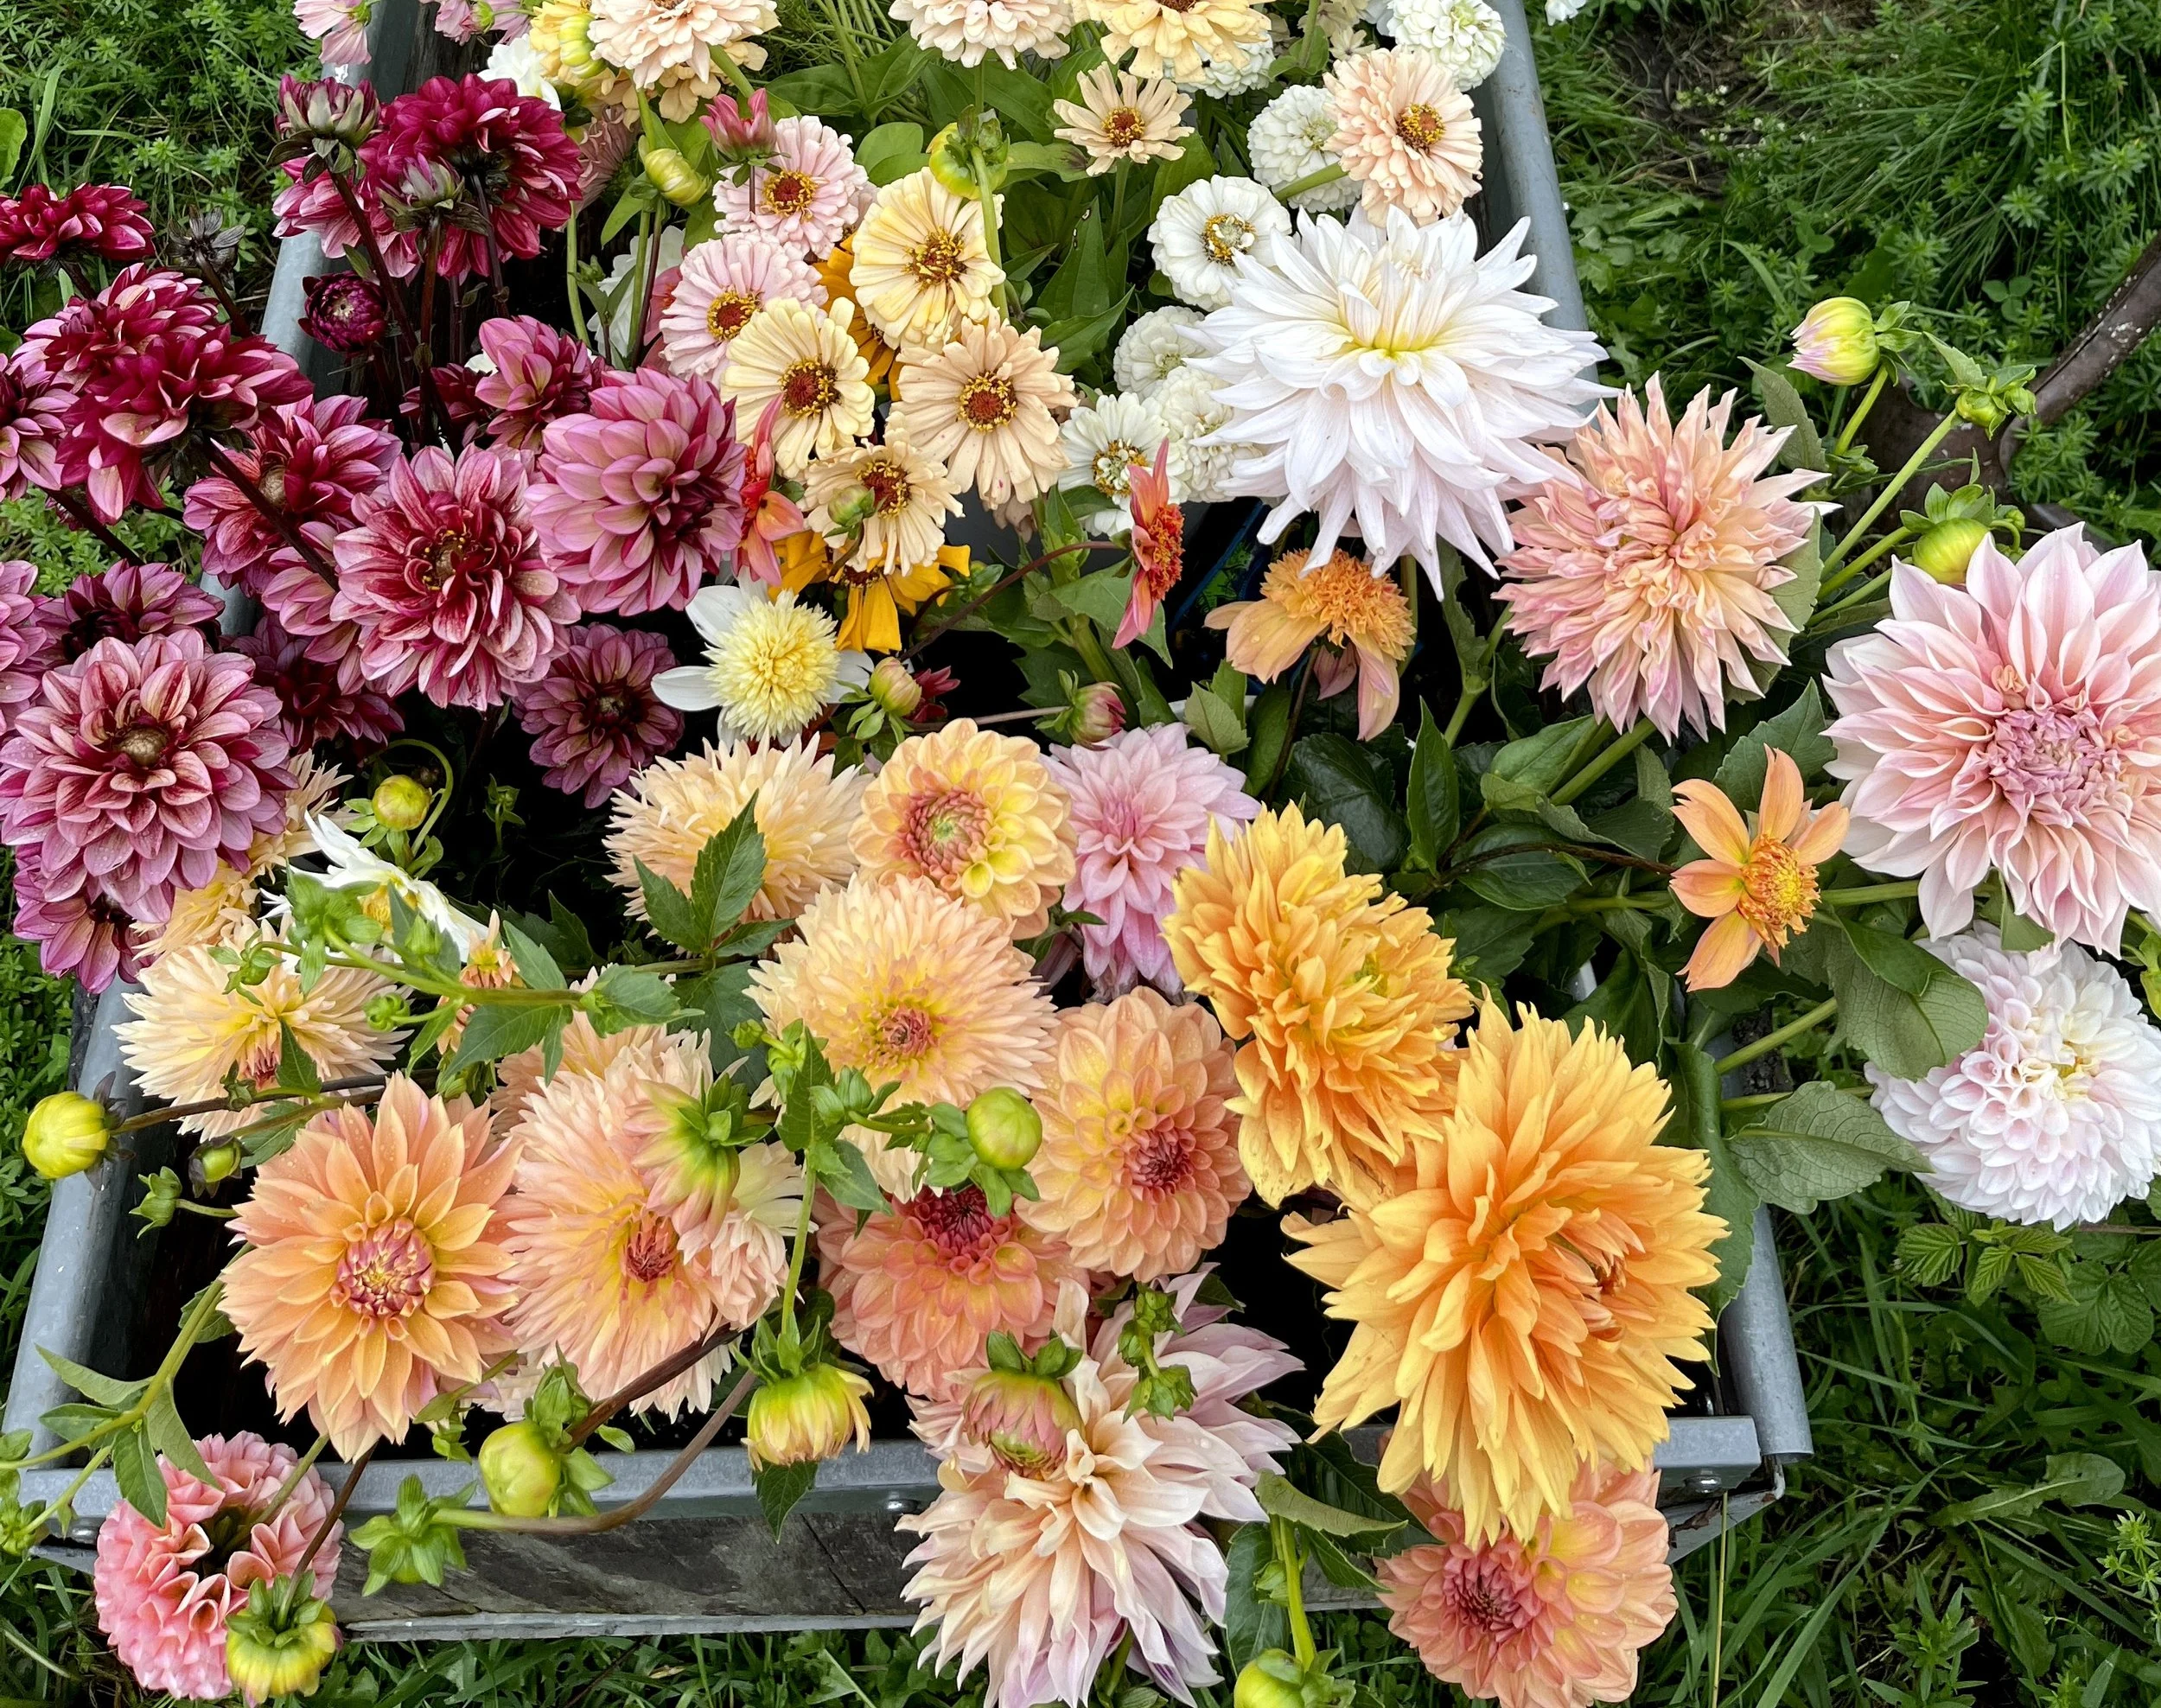
A beautiful dahlia cut flower harvest
PICKING A LOCATION: When choosing a spot to plant your dahlias, spend time observing how much light the spot receives over the course of a day during the summer. Notice what the soil is like and how fast it drains in rainstorms or in spring if you live in an area that has a deep snowpack in winter. Observing details like these about your particular spot will help you grow all your plants better, not just your dahlias.
LIGHT: Choose a spot that gets at least 6-8 hours of sun each day. Dahlias are generally thought of as “full sun” plants, but I have found as summers grow hotter here, that they do actually appreciate a bit of afternoon shade. My own garden gets 13 hours of full sun for most of the growing season, and I think it’s a little much for the dahlias. 10-12 hours of sun is probably best for these plants. I’m experimenting with placing some in a bed that is shaded for a few hours midafternoon this year to see if they prefer that. This being said, dahlias don’t do well in shade and definitely need at least those 6 hours or more of full sun to grow strongly, bloom well, and create good tubers you can store for next year.
Some interesting research (discussed in a couple different articles on the GrowerTalks website) has found that dahlia bloom time and tuber production can be modified by manipulating day length while the plants are in their vegetative growth phase. (I am working on a different blog post that goes into this interesting information and its possible implications further, and will link it here when it is ready). Be aware that if you pre-sprout your dahlia tubers or grow some from cuttings indoors, the day length you choose for them by using your grow lights is likely to affect the blooming and tuber growth of at least some varieties.
SOIL: Amend the soil with plenty of well-rotted compost. Dahlias are big, juicy, lush plants and they need feeding. My best dahlias have always been in heavily compost-amended soil. Contrary to popular belief, they do need fertilizer (or a LOT of well rotted compost) to grow well and bloom as plentifully as we want them to, especially when growing them for cut flowers. A balanced organic fertilizer added to the planting hole by the tablespoon (one tablespoonful per tuber) seems to get them off to a good start. I use a fertilizer called Pro-Grow by North Country Organics, but there are many similar products out there. If you are concerned about causing too much green growth and not getting enough flowers, go with a “tomato” type fertilizer. Definitely don’t use fresh manure on them as that will provide way too much nitrogen and delay bloom, as well as potentially injuring newly grown, tender roots.
They like good drainage and are not a plant to put in a spot where water accumulates on the soil surface during wet periods. Dahlias will grow fine in clay/rocky clay (my soil is rocky clay) but I have learned to avoid the heaviest clay soil areas of my garden when planting them because it tends to make them produce huge, tightly clustered and convoluted tuber clumps that are almost impossible to dig and wash. I find that after years of adding compost and other organic matter to my soil, it’s much easier to dig and clean the tubers in fall since the soil layers they are growing in are looser. If you have sandy soil, you’re also going to want to add a lot of organic matter so enough moisture is available to them consistently.
WATERING: Dahlias need a lot of water, once they have started to grow. Initially upon planting, DO NOT WATER in your tubers unless the soil is actually powder dry, since excessive wetness around a dormant tuber without roots will frequently cause it to rot. But once the plants emerge above the ground, they need regular watering unless it rains enough to soak the soil 4” down or more, once every several days. I think it is best to water them a couple times a week, deeply, so that the soil all around the roots is very moist when you are done. I like drip irrigation for this, but some growers swear by different sprinkler systems for overhead watering. Use what you have and what works best for your garden and life.
TUBER PLANTING: Plant outdoors close to your last frost date. All parts of the dahlia plant, including the tubers, are frost sensitive and will die if exposed to temperatures below freezing. Around when the lilacs bloom in your area is about the right time to plant dahlias. Soil temp should be around 60* F.
Plant tubers 2-5” below the soil surface, eye/former stem end up or with the tuber lying horizontally if you are not sure which way is up. Add a tablespoonful of organic fertilizer to the planting hole. Gently press soil around and over the tuber and again, DO NOT WATER until you see green growth sprouting above ground. Don’t worry about rain; they should be fine if it rains before their top growth appears.
Use slug bait around the new shoots— slugs & snails like to snack on them otherwise.
PLANT SUPPORTS: If you wish, you may use various plant support arrangements to keep the dahlia plants from flopping in high winds or rainstorms. In my windy garden, not all the dahlias get tall or lanky enough to require much support since the constant wind strengthens them, but an arrangement of stakes or low tunnel hoops around each bed with twine woven around and between the plants works well to keep them from hogging path space and helps ensure that the dahlias grow straighter flower stems.
If you only have a few plants, tying each to its own stake is a simple way to help them stay standing. Some larger scale growers use stakes with hortonova netting, a tough plastic net with 6” openings, to save time compared to tying them up. I use the stakes/low tunnel hoops and twine method as that works for me and I can compost the sisal or jute twine and the dahlia tops together at the end of the season. Hortonova and similar grower nettings are reusable plastic, but they are really hard to extract from a tangle of frosted, dead plant tops at the end of the season. It is also possible to find natural-fiber plant support netting that is both reusable and eventually compostable (I like Fedco Seeds as a source for this).
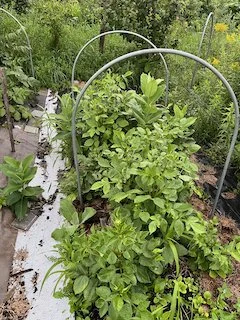
EMT low tunnel hoops in use for plant support (twine will go between them)
FLOWER HARVEST: For better flower production, cut deeply into the plant when you harvest flowers. Take a couple pairs of leaves (and sometimes a couple immature flower buds, I know, ouch) to get a nice long stem and encourage the plant to grow new, long, straight flower stems below where you took the first one. If you are selling tubers or worried about dahlia diseases, sterilize your cutting tool with bleach, veterinary sterilizing solution, or rubbing alcohol between plants.
TUBER HARVEST: There is a lot to be said about this, so it needs its own blog post, but a very simple explanation of what I do is as follows. I wait until a week or so after a hard frost has completely killed the entire dahlia plant top. The wait is so the dead top can dry a bit (less gross to handle that way unless it’s rainy the whole fall). Then I snip the stem a couple inches above the soil surface, right before I plan to dig the tuber clump. If you cut the stem and let the plant sit there in the ground like that for days, water from dew or rain will accumulate inside the hollow stem and rot the central part of the tuber clump, potentially ruining the storage ability of your tubers.
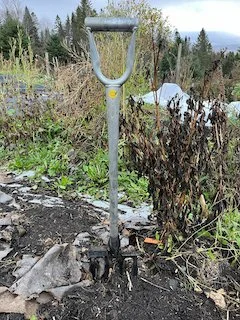
Digging fork, dahlia digging in progress
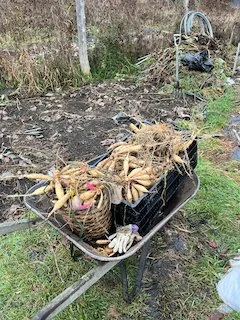
Washed dahlia tuber clumps ready to store & divide
To dig the tubers, I push a digging fork in about 8-10” away from the central stem, all the way round, gently lifting with the digging fork tines each time. When the tuber clump is freed from the roots clinging to the earth, I lift the clump and gently remove the soil by some combination of hand manipulation and gently knocking the stem stub with a tool handle to get the soil to loosen and shake out of the crannies of the tuber clump. I then wash the soil off as much as possible with the hose right there in the garden, let the clump sit until just surface dry, then place in my 43* F walk in cooler. You may have a garage or basement that stays around 40-45* F and that is a good spot to keep the tubers until you can divide them, as long as they are not set directly on concrete, which will wick the moisture out of the tubers within hours and cause them to store badly.
Again, there is more that I could say about tuber harvest and storage, but that will have to wait. When I’ve written another blog post on this subject, I will link it here.
Happy Gardening and thank you so much for reading!
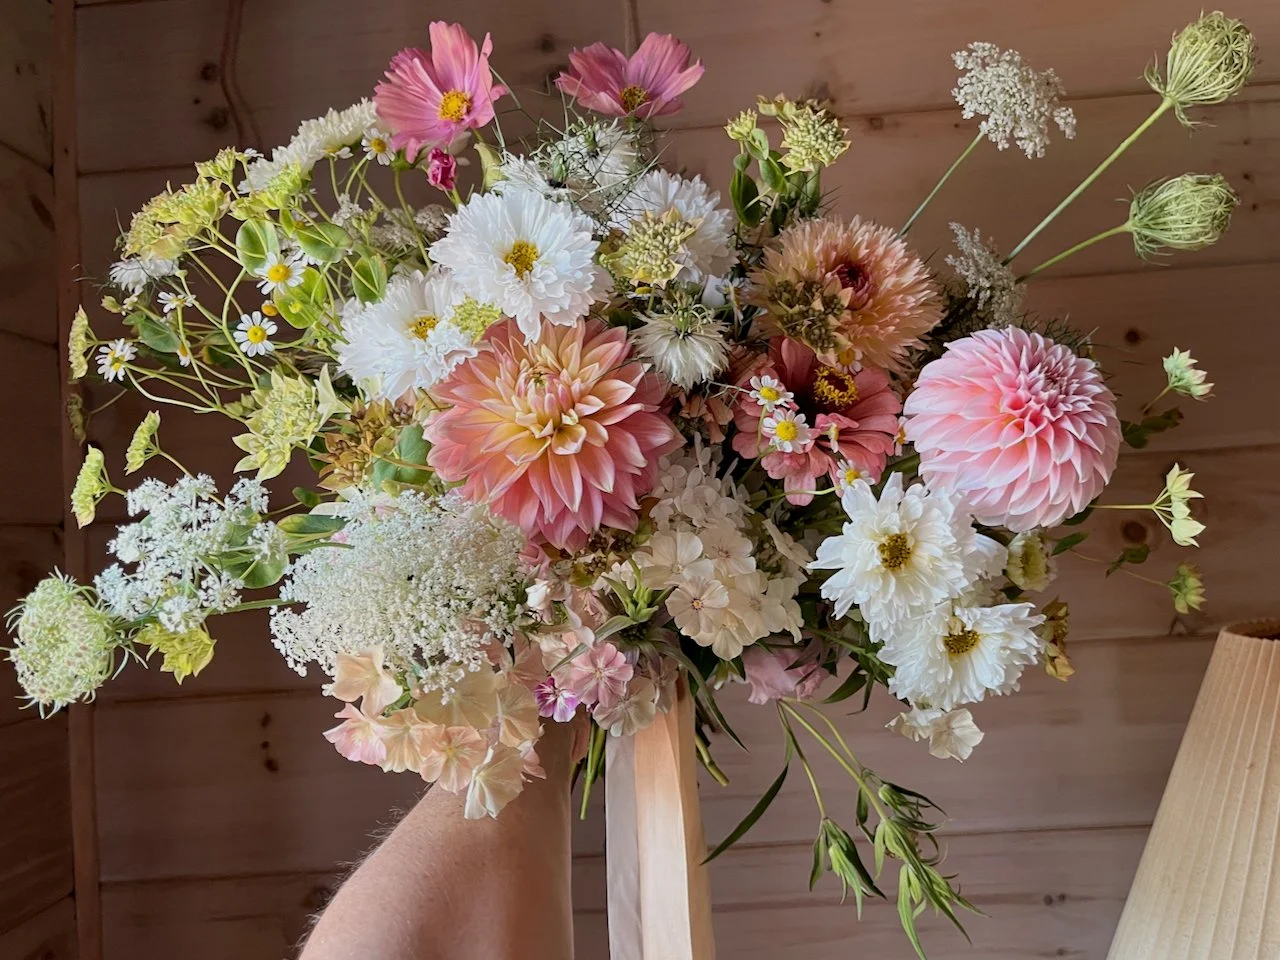
Bridal bouquet by Eva with some of the garden dahlias.